

Blog

Signature Lawn and Landscape LLC

10 Tips for Choosing the Right Silicone Seal?

Choosing the right Silicone Seal is rarely a simple matter of picking a familiar brand. The correct product must match the surface, movement, temperature, moisture, and installation conditions. A bathroom joint, aluminum window frame, and industrial panel all demand different performance. Appearance matters, but it should not lead the decision.

This guide presents ten practical tips for making a more reliable choice. It considers adhesion, flexibility, curing time, weather resistance, chemical exposure, and application methods. Product datasheets provide essential evidence, especially for temperature limits and compatible materials. Independent testing or recognized industry guidance can also support a safer decision. Small details matter. A cartridge nozzle cut too wide may create waste and uneven joints.

Real installation experience shows that failures often begin before the sealant is applied. Dust, oil, trapped moisture, or poor joint design can weaken an otherwise suitable product. Even experienced installers sometimes overlook surface movement or select a seal that cures too rigidly. That deserves careful reflection. The cheapest option may appear efficient, yet repeated repairs can cost much more. Consider the joint’s real environment, not only its appearance on the shelf. With clear specifications and a disciplined installation process, these ten tips can help readers choose confidently and avoid common sealing mistakes.
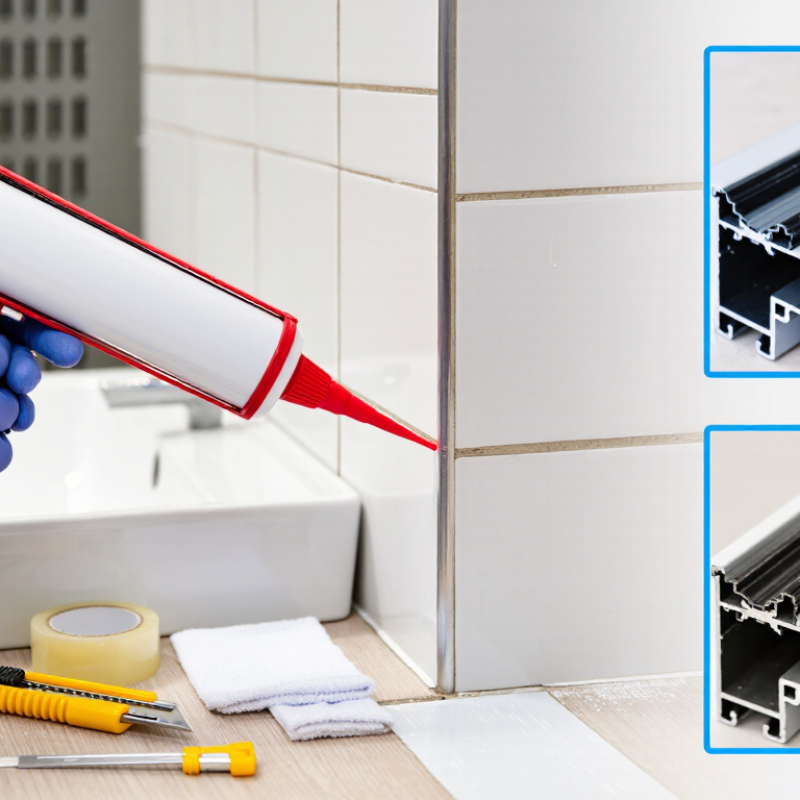
10 Tips for Choosing the Right Silicone Seal?

Define the Application and Performance Requirements

Choosing a silicone seal begins with the joint, not the cartridge. Record the substrates, joint width, movement, temperature range, and exposure before comparing products. A bathroom joint faces moisture and cleaners, while an exterior panel may endure sunlight, rain, and freeze-thaw cycles. Small details matter. Ask whether the seal must remain flexible, resist mold, or carry limited vibration. These requirements define performance more accurately than a generic “all-purpose” label.

In practical inspections, adhesion is often the weak point. Dust, oil, loose paint, and damp surfaces can cause early failure, even with suitable silicone. Check technical data for compatible substrates, primer requirements, cure conditions, hardness, elongation, and service temperature. Do not confuse skin formation with full cure. A thick bead may need much longer to cure through, especially in cool or poorly ventilated spaces. If the joint moves beyond the sealant’s tested capacity, cracking or separation can follow.

Chemical exposure deserves a realistic test. Cleaning agents, saltwater, fuels, and process fluids can affect performance differently. Request compatibility evidence for the actual fluid, concentration, and contact time. Standards and independent test reports add confidence, but field conditions still deserve attention. Start small. I would inspect a trial section before sealing hundreds of meters. It can reveal staining, poor tooling, weak adhesion, or an incorrect joint design. Even experienced installers make assumptions, and some fail when temperature or substrate conditions change. Document why the selected silicone matches the application.

Compare Silicone Seal Types and Curing Systems

10 Tips for Choosing the Right Silicone Seal

Choosing a silicone seal starts with the curing system, not the color. One-part silicone cures when it meets moisture in the air. It is convenient for windows, bathrooms, and small repairs. However, deep joints may cure slowly. Two-part silicone uses a separate catalyst and cures more evenly. It suits factory production and thicker applications, but accurate mixing is essential. Small ratio errors can weaken performance.

Acetoxy-cure silicone releases acetic acid during curing. Its vinegar-like smell is noticeable. It often bonds well to glass and glazed surfaces, but may corrode some metals or affect sensitive substrates.

Neutral-cure silicone is usually safer for metals, concrete, coated surfaces, and natural stone. Alkoxy and oxime systems fall within this broader neutral-cure group, yet their adhesion and odor can differ. Always read the technical data sheet.

Check the joint movement, temperature range, and exposure to water or sunlight. A flexible seal needs enough depth, but excessive thickness can delay curing. Clean, dry surfaces matter more than a smooth-looking bead. Masking tape improves edges. A small adhesion test prevents expensive rework.

Do not assume “universal” means suitable for every substrate. I have seen neat seals fail because dust remained inside the joint. That mistake is easy to overlook.

Consider storage age, curing humidity, and compatibility with backer materials. Paintability also requires verification, because many cured silicones resist ordinary coatings. My selection would remain cautious, especially when failure could allow moisture behind a wall.

Check Surface Compatibility and Environmental Resistance

Surface compatibility should be tested before performance claims are trusted. Silicone may adhere well to glass, glazed tile, and anodized aluminum, but adhesion can weaken on dusty concrete, oily stone, or powder-coated metal. Clean a small area, allow it to dry, and apply a short bead. After curing, pull and twist the bead by hand. A simple test often reveals more than a technical sheet.

Environmental resistance needs equal attention. ASTM C920 classifies sealants by movement capability, including Class 25 and Class 50. Class 50 products are designed to accommodate movement up to 50% in extension or compression. ISO 11600 also evaluates movement, adhesion, and durability. These figures matter around window frames, where sunlight, temperature changes, and building movement work together. In coastal locations, salt spray can expose weak adhesion quickly. In cold regions, repeated freeze-thaw cycles may create tiny gaps.

Read the site, not just the label. Check surface porosity, joint width, drainage, UV exposure, and expected temperatures. A sealant rated for exterior use may still fail on damp masonry or contaminated stone. Industry testing is controlled; real surfaces are not. I once treated “water-resistant” as enough information. It was not. Always confirm the technical data sheet, follow the stated cure time, and perform a field adhesion test before full application. Even a small sample can prevent a costly replacement.

10 Tips for Choosing the Right Silicone Seal? — Check Surface Compatibility and Environmental Resistance

No. Selection Focus What to Check Why It Matters Recommended Action
1 Identify the substrate Determine whether the seal will contact glass, glazed ceramic, aluminum, stainless steel, painted metal, concrete, wood, plastic, or another material. Silicone adhesion varies by substrate. Smooth, clean glass and glazed surfaces generally provide more predictable adhesion than porous or contaminated materials. Record every surface in the joint, including primers, coatings, and backer materials.
2 Verify surface compatibility Check the technical data and compatibility guidance for the exact substrate, coating, sealant, and cleaning method. Some plastics, rubber materials, bituminous products, and coatings may release additives or provide poor adhesion. Perform an adhesion test on representative samples before full installation.
3 Choose the correct cure type Compare neutral-cure and acetoxy-cure systems. Consider odor, corrosion sensitivity, and the materials surrounding the joint. Acetoxy systems release acetic acid during curing and may be unsuitable for some metals, alkaline surfaces, or sensitive components. Prefer neutral-cure silicone for sensitive metals, masonry, electronics, and mixed-material assemblies unless compatibility is confirmed.
4 Assess temperature resistance Review the stated service-temperature range and distinguish continuous exposure from short-term temperature peaks. Excessive heat can accelerate aging, while temperatures outside the recommended range may reduce elasticity or adhesion. Select a sealant whose published service range covers the lowest and highest expected operating temperatures.
5 Evaluate UV and weathering resistance Consider direct sunlight, ultraviolet exposure, rain, humidity, ozone, freeze-thaw cycles, and outdoor aging. Exterior joints undergo repeated movement and environmental cycling. UV-resistant silicone generally retains flexibility better than many non-silicone alternatives. Use an exterior-rated formulation and confirm suitability for the expected climate and exposure level.
6 Check chemical exposure Identify contact with water, cleaning agents, dilute acids or alkalis, oils, fuels, solvents, salt spray, or process chemicals. Silicone is broadly weather-resistant, but resistance depends on the specific chemical, concentration, temperature, and exposure duration. Request chemical-resistance data or conduct an immersion and adhesion test using the actual chemical environment.
7 Match movement capability Estimate joint movement caused by thermal expansion, vibration, settlement, wind, or material shrinkage. A sealant must stretch and recover without cohesive splitting or loss of adhesion. Joint geometry also affects movement capacity. Use the manufacturer’s movement-class or movement-capability data and design the joint with suitable width-to-depth proportions.
8 Consider moisture and cure conditions Check whether the surface will be dry or damp, the ambient humidity, ventilation, temperature, and cure depth. Silicone cures by reacting with moisture in the air. Restricted airflow, deep joints, or unsuitable temperatures can extend cure time. Keep surfaces clean and stable, provide adequate ventilation, and allow sufficient curing time before stressing the joint.
9 Review application requirements Compare one-part and two-part systems, tooling time, extrusion force, skin-formation time, cure speed, and application equipment. A sealant that cures too quickly may be difficult to tool, while a slow-curing product can delay handling or service. Match the product’s working time and cure rate to joint size, installation speed, temperature, and available equipment.
10 Confirm performance and compliance Review adhesion, elasticity, hardness, durability, fire or smoke requirements, VOC considerations, and relevant construction standards. A visually acceptable bead may still fail to meet structural, façade, sanitary, glazing, or indoor-air-quality requirements. Compare current technical documentation, safety data, test reports, and project specifications before purchase and installation.
Key rule Always validate surface adhesion and environmental resistance with a small-scale test using the actual materials, preparation method, and expected service conditions.

Evaluate Application Method, Safety, and Service Life

Choosing the right silicone seal starts with the application method, not the color or cartridge size. Check whether the joint will be applied manually, with a pneumatic gun, or by automated equipment. Each method affects bead control, waste, and working speed. A narrow joint needs steady pressure and a clean nozzle cut. Large construction joints require suitable tooling and controlled backing material. Poor preparation ruins good silicone.

Safety deserves practical attention. Read the technical data sheet before opening the package. Confirm the product suits the substrate, temperature range, and ventilation conditions. Some curing systems release noticeable odors during application. Wear suitable gloves and protect nearby surfaces from uncured material. Keep the work area dry, clean, and free from dust. Test adhesion on a hidden section first. It takes minutes.

Service life depends on movement, moisture, sunlight, and maintenance. A seal exposed to roof heat needs stronger weather resistance than an indoor cabinet joint. Measure joint width carefully, because excessive movement can split an undersized bead. Allow full curing time before exposing the seal to water or pressure. Inspect edges for peeling, cracks, and discoloration during routine maintenance. A seal may look intact while losing adhesion underneath. That detail is easy to miss. When conditions are uncertain, consult a qualified sealant technician and record the installation date for future checks.

10 Tips for Choosing the Right Silicone Seal

Evaluate application method, safety, and service life before selecting a silicone seal.

How to use this chart: The scores show practical review priority on a 1–5 scale, where 5 means the factor should be verified before purchase. Temperature range, substrate compatibility, movement capability, curing conditions, and service life are commonly critical because silicone performance depends on the joint design, installation environment, and product specification. Always confirm the final choice against the technical data sheet and applicable safety requirements.

Select the Product Specification and Verify Quality

Choosing the right silicone seal starts with a clear product specification, not attractive packaging. Define the joint width, expected movement, temperature range, curing time, and contact materials. A sealant for glass may behave poorly on porous concrete or painted metal.

Tip 1: Match the movement rating to the joint design. Tip 2: Confirm indoor or outdoor suitability. Tip 3: Check resistance to moisture, sunlight, and temperature changes. Tip 4: Read the technical data sheet carefully. Do not guess.

Tip 5: Verify the curing system, such as neutral or acetoxy cure. Tip 6: Check the stated shelf life and storage temperature. Tip 7: Request batch information, safety data, and independent test results. Tip 8: Inspect the cartridge for damage, leakage, or unclear printing. Tip 9: Test adhesion on a small, prepared area before full application. Tip 10: Compare the cured bead with the promised flexibility and appearance.

A neat bead can still fail. I have seen good-looking seals detach because the surface was dusty or damp. Product quality also depends on preparation, application temperature, and correct tooling. A reliable supplier should explain limitations, not only advantages. Standards such as ASTM C920 or ISO 11600 can support comparison, but test conditions may differ from your project. That detail is easy to overlook. Verify the actual specification, check recent batch records, and keep a small sample for future inspection.